This is Part 3 in our series on getting started with Munki. Part 1 covered the basic installation of Munki and the elusive Part 2 covers using Munki Admin and Munki’s Managed Software Centre. Part 3 covers the after you’ve setup Munki, now what part of the deployment. Munki is installed. Software is downloaded via AutoPkg and manifest contain catalog and clients have manifests. But is it working? Do all the Macs have the latest Flash plugin? Do they really? We will cover basic setup of MunkiReport-PHP to show easy it can be to get going.
Step 1. Download munkireport-php, download ZIP
Note: It’s a good idea to read through the setup notes on the site
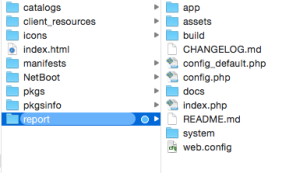
Step 2. Rename folder to “report”
Rename the the expanded folder to whatever you like, I shorten it to “report”
Step 3. Drop in Munki_repo folder
To get started quickly drop this folder into your munki repo site folder (which is presumably accessible via the web for client access to Munki).
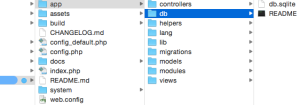
Step 4. Change perms of app/db folder
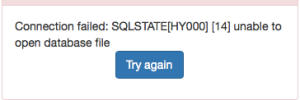
Your set up will fail is the app/db folder is not accessible. Make it writable.
Note: Do not make your site accessible to the outside Internet if you’re not confident in your security model. This is for inside your LAN testing. Be careful and mindful of security concerns. ‘Nough said
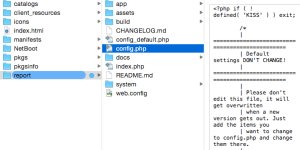
Step 5. Rename default_config to config.php
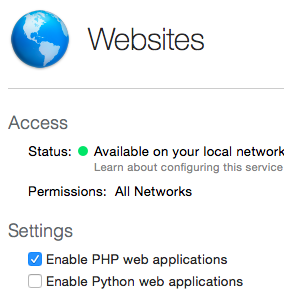
Step 6. Enable php for apache
Enable PHP in Apache or other web server service you’re using. Example below is using Server.app
Step 7. Create user (and hash)
Load up your MunkiReport-PHP site and create a user and hash.
Step 8. Add hash to config.php
Step 9. Download MunkiReport.plist using curl
Download MunkiReport.plist using curl. Note: use an IP address accessible to your Munki clients, i.e. not ‘localhost’
Step 10. Add MunkiReport.plist to pkgsinfo
Add MunkiReport.plist to pkgsinfo
Step 11. Import in munki repo
Use munkiimport or MunkiAdmin to import your MunkiReport.plist to Munki
Step 12. Add to client manifest
Add MunkiReport.plist to client manifest using Munki Admin or Munki cli tools
Step 13. Add apps to monitor in config.php
Use the apps_to_track model. See also Rsaeks blog post.
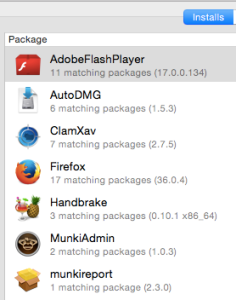
Step 14. Login and check your App Versions report
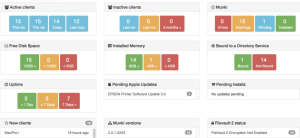
Step 15. Explore Munki Report

