Why I stopped worrying and built my own MHL verification apps
If you work in post-production long enough, you learn a simple truth:
Copying files is easy.
Trusting those copies is the hard part.
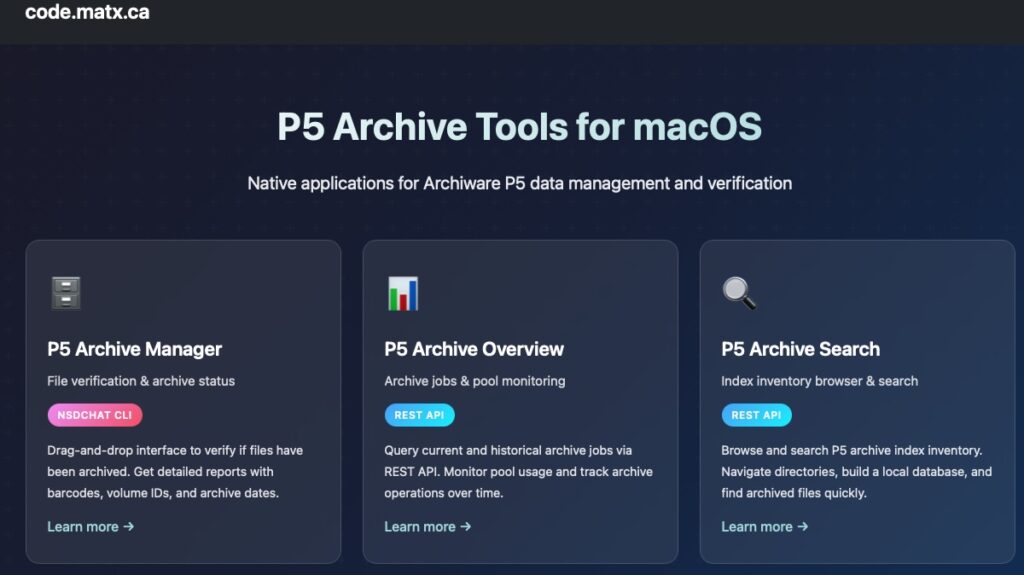
That is a big part of why I have been building tools at code.matx.ca for archive, verification, and post-production workflows. A lot of my recent work has been around practical trust tools for media handling: tools that help answer questions like:
- Did this copy actually complete properly?
- Are these media files still identical to the originals?
- Can I prove that later?
- Can I hand this off to someone else with confidence?
That is where MHL Verify and Drop Verify come in.
Why MHL matters
An MHL is a Media Hash List.
In practical terms, it is a manifest file that records hashes and metadata for media files so you can later verify whether the files still match. It is one of the clearest ways to move from “I think this copy is fine” to “I checked this copy against a known manifest.”
That matters on real jobs.
Media moves constantly:
- from card to shuttle drive
- from shuttle to RAID
- from RAID to editorial
- from editorial to archive
- from archive back to restore
- from one vendor or facility to another
At every stage, something can go wrong. Files can go missing. A copy can be incomplete. A file can change. Folder structure can drift. And sometimes everything looks fine until you actually verify it.
MHL helps catch that.
It is especially useful because it is not just some private internal log from one app. It is a real workflow format with broad industry relevance. If you want to read more about it, these are good starting points:
Why I built Drop Verify
Sometimes you do not need a full ingest system.
Sometimes you just want to drag a folder onto an app and get the trust artifacts you need.
That is what Drop Verify is for.
Drop Verify is a simple one-folder tool that recursively scans media files and generates:
- an MHL
- a contact sheet PDF
- an EXIF camera metadata CSV
So if you have already copied media and want to package it with useful reporting and verification artifacts, Drop Verify gives you a fast way to do that.
It is intentionally lightweight.
You drop in a folder, it does the work, and you get a clean artifact package you can keep with the media or send along with a handoff.
Why I built MHL Verify
Once you have an MHL, the next question is:
“Do these files still match it?”
That is the job of MHL Verify.
MHL Verify is for loading an existing MHL and checking a media set against it. That MHL might have been created by:
- Drop Verify
- another one of my tools
- CopyTrust
- Silverstack
- OffShoot
- YoYotta
- another MHL-capable app
This makes it useful both for your own workflows and for incoming material from someone else.
If a vendor sends you media plus an MHL, MHL Verify gives you a direct way to test what you received.
If you created the MHL yourself with Drop Verify, MHL Verify becomes the follow-up tool for re-checking later copies, archive restores, or client-delivery storage.
For added bonus: I added a MHL QuickLook plugin with MHL Verify. Install one and you get both. Quickly view an MHL with QuickLook then open in MHL Verify.
How the two apps fit together
The simplest way to think about them is this:
- Drop Verify creates the trust package
- MHL Verify verifies the trust package
That separation is useful.
It keeps the workflow easy to explain:
- Use Drop Verify to create an MHL and supporting artifacts from a folder.
- Use MHL Verify to verify that MHL now or later.
- Re-run verification on another drive, another machine, or another copy whenever you need confidence.
That can be useful for:
- archive checks
- delivery confirmation
- transfer QA
- post-copy validation
- restoration testing
- chain-of-custody confidence
How to test these apps
If you want to try them in a practical way, here is a simple test workflow.
Test 1: Create and verify your own MHL
- Take a folder of media files.
- Open Drop Verify.
- Drop the folder into the app.
- Let it generate:
- MHL
- contact sheet PDF
- EXIF metadata CSV
- Open MHL Verify.
- Load the MHL created by Drop Verify.
- Verify the same folder.
That gives you a clean baseline test: the manifest was just created, and the files should match.
Test 2: Verify a second copy
- Duplicate that media folder to another drive or another location.
- Open MHL Verify.
- Load the original MHL.
- Verify the copied folder.
Now you are using the MHL the way it is meant to be used: as a trust record across copies.
Test 3: Intentionally break something
- Copy a media folder.
- Change one file name, remove one file, or replace one file.
- Run MHL Verify against that altered copy.
This is a great sanity check because it proves the verification layer is doing real work instead of just producing reassuring green text.
Test 4: Use Drop Verify for reporting only
Even when you already trust the copy, Drop Verify is useful for generating:
- a contact sheet for visual review
- a metadata spreadsheet for logging or production notes
- a fresh MHL for your own package or archive workflow
That makes it handy not just as a verification tool, but as part of media prep and documentation.
Where CopyTrust fits in
There is also a third tool in this family: CopyTrust.
CopyTrust is the bigger ingest and verification app in this project. It is aimed at more advanced workflows and is growing toward a more complete camera-ingest model.
The direction there is a multi-source, multi-destination copy and verification tool with:
- copy testing
- MHL creation
- MHL verification
- receipt generation
- stronger ingest workflow support
So in a way, these tools are becoming a small ecosystem:
- Drop Verify for simple folder-based artifact generation
- MHL Verify for focused manifest verification
- CopyTrust for broader ingest and copy-validation workflows
Why I am making these tools
Because trust in media handling still matters, maybe more than ever.
Storage gets bigger. Copy workflows get faster. Teams get more distributed. But the underlying need stays the same: we need practical ways to know whether our files are actually what we think they are.
That is what these tools are for. Trust, but verify.
If you want to follow along with these tools and the rest of my post-production and archive work, you can find them at code.matx.ca.