Tales of migrating an archive system
Over the years I’ve trusted Archiware P5 to protect large storage systems by copying to tape archives. It really is the best system for my clients. It works. I’ve used it to restore entire failed storage. Backups are great. Restores are better!
And Archiware have been great to entertain my feature requests and ideas for making P5 do what I wanted. Mostly extending the cli (and API) to help monitor the system with MunkiReport and a variety of shell scripts. (GitHub)
software versus hardware
Eventually after a long happy service you may find yourself needing to migrate the physical server to a new host when it is too old to get macOS updates.
Yes, Linux VM(and virtual private servers or VPS) are more common today than « Mac servers » but back in the day when Apple ruled the VFX world (remember Shake?!) and everyone ran Xsan fibre channel storage on Xserve raids, we also ran Mac servers with Apple’s Xserve hardware. Well that’s no longer the state of the Mac universe but we have these lovely mac minis for those who build small post-production studios and a running a Mac “server” is easier than learning Windows or Linux or even docker OS which you have to maintain. (Mac mini DevOps, it’s a thing. Ask Alex!)
Imagine physical servers on premise watching over and backing up on site storage using a tape library. Yes! It’s true, LTO tape systems to backup and archive post production storage is very standard. This is the way.
So there you are, one day you find a Mac that’s a bit old and needs to be upgraded. Maybe you’re smart and careful so you know it needs macOS updates. Yes it’s working but how many years of not being recent enough to get security updates are you going to risk running a “a perfectly working system”?or maybe you want 10gbe or something faster. Upgrade all the things. And while buying a new Mac might be easy (not with all the ram you want maybe but still) now what? Software Migration time.
Migration of the backup and archive server is easy right? Well easy enough. Move the databases over to the new Mac, make sure your license is correct for the new hardware and off you go.
documentation for the nation
Since I wanted to double check my fuzzy memory I checked with Archiware’s website and found a link in their support to my most excellent colleague David Fox’s JPY website with migration instructions. Excellent. Good start.
In my case I wanted to tweak the instructions for mac server migration versus Linux and I wanted to call out making sure all the archive indices were backed up properly so I revised his excellent list to be more specific to my scenario.
Warning: this is the point when you realize that I’m going to mention another app I built. The inflection point in the blog. No, it was wasn’t vibe coded. It was seriously hand crafted and mostly artisanal. In this case, my P5 Export app has existed for a while and it emerged as a way to easily schedule SQL export and analysis of historical archive jobs.
I had a shell script and a bundle of sql statements. And it worked but I wanted an easy way for my clients to use it so that’s where that app started. Well, even before that I had a lot of TSV exported inventory files and no real idea of what was in them. So there was a whole adventure with Jupyter notebooks and Python and that was fun and cool and worked briefly but it was so bespoke that it could not be used anywhere.
why? What are we doing this for?
My sql tools transformed the data into trends and reporting to see what and how much was archived. It was great. But it was a shell script and could only be wielded by the magician. So then it became an app. And a menu bar app too. That was my favourite part. An app. In the menu bar. It’s awesome.
more more more
Eventually I added my other export scripts which extracted useful info from my P5 archives: how many tapes I had and what were they, and what was in each one. Useful scripts made their way into my app. Report all the things.
All this info is in Archiware P5 but not always the way you want to see it
Recently Archiware have added dashboards to P5 and it’s a great addition and it hopefully means that I won’t have to support any hacks using bash and sql for much longer.
Ultimately my app feature update to P5 Export today came down to a planned migration and some cli instructions for backing up the backup and archive databases. Why do it once manually when you can automate and make it work for everyone better. It’s a classic IT mantra. So of course it made perfect sense to include backups of the backups in my app too.
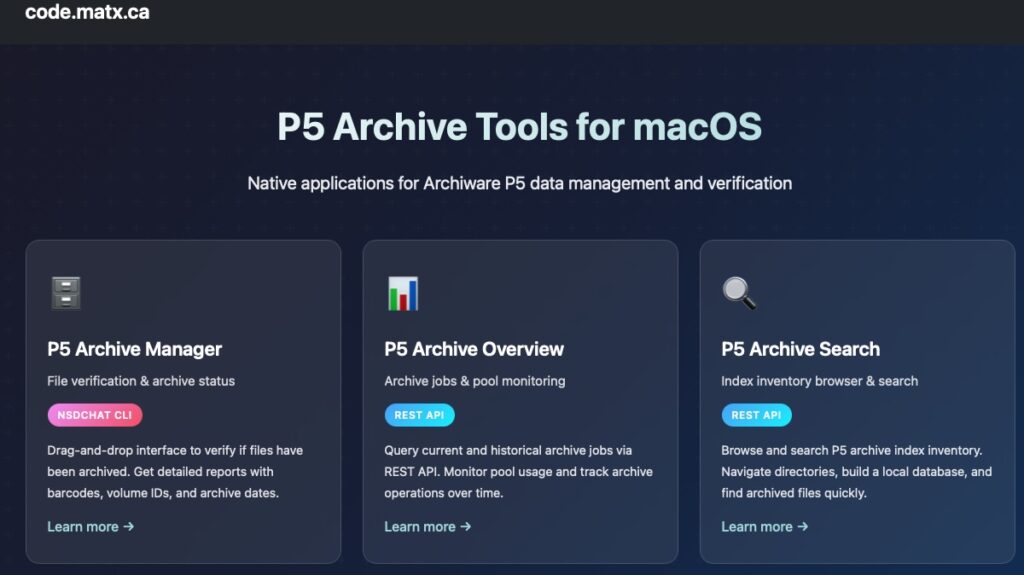
why not regularly backup and export useful data intelligence from your archives. Make them work for you. You need P5 Export if you use Archiware P5, and you should, then check out the rest of my P5 helper tools. For making the most of your archives. Code.matx.ca